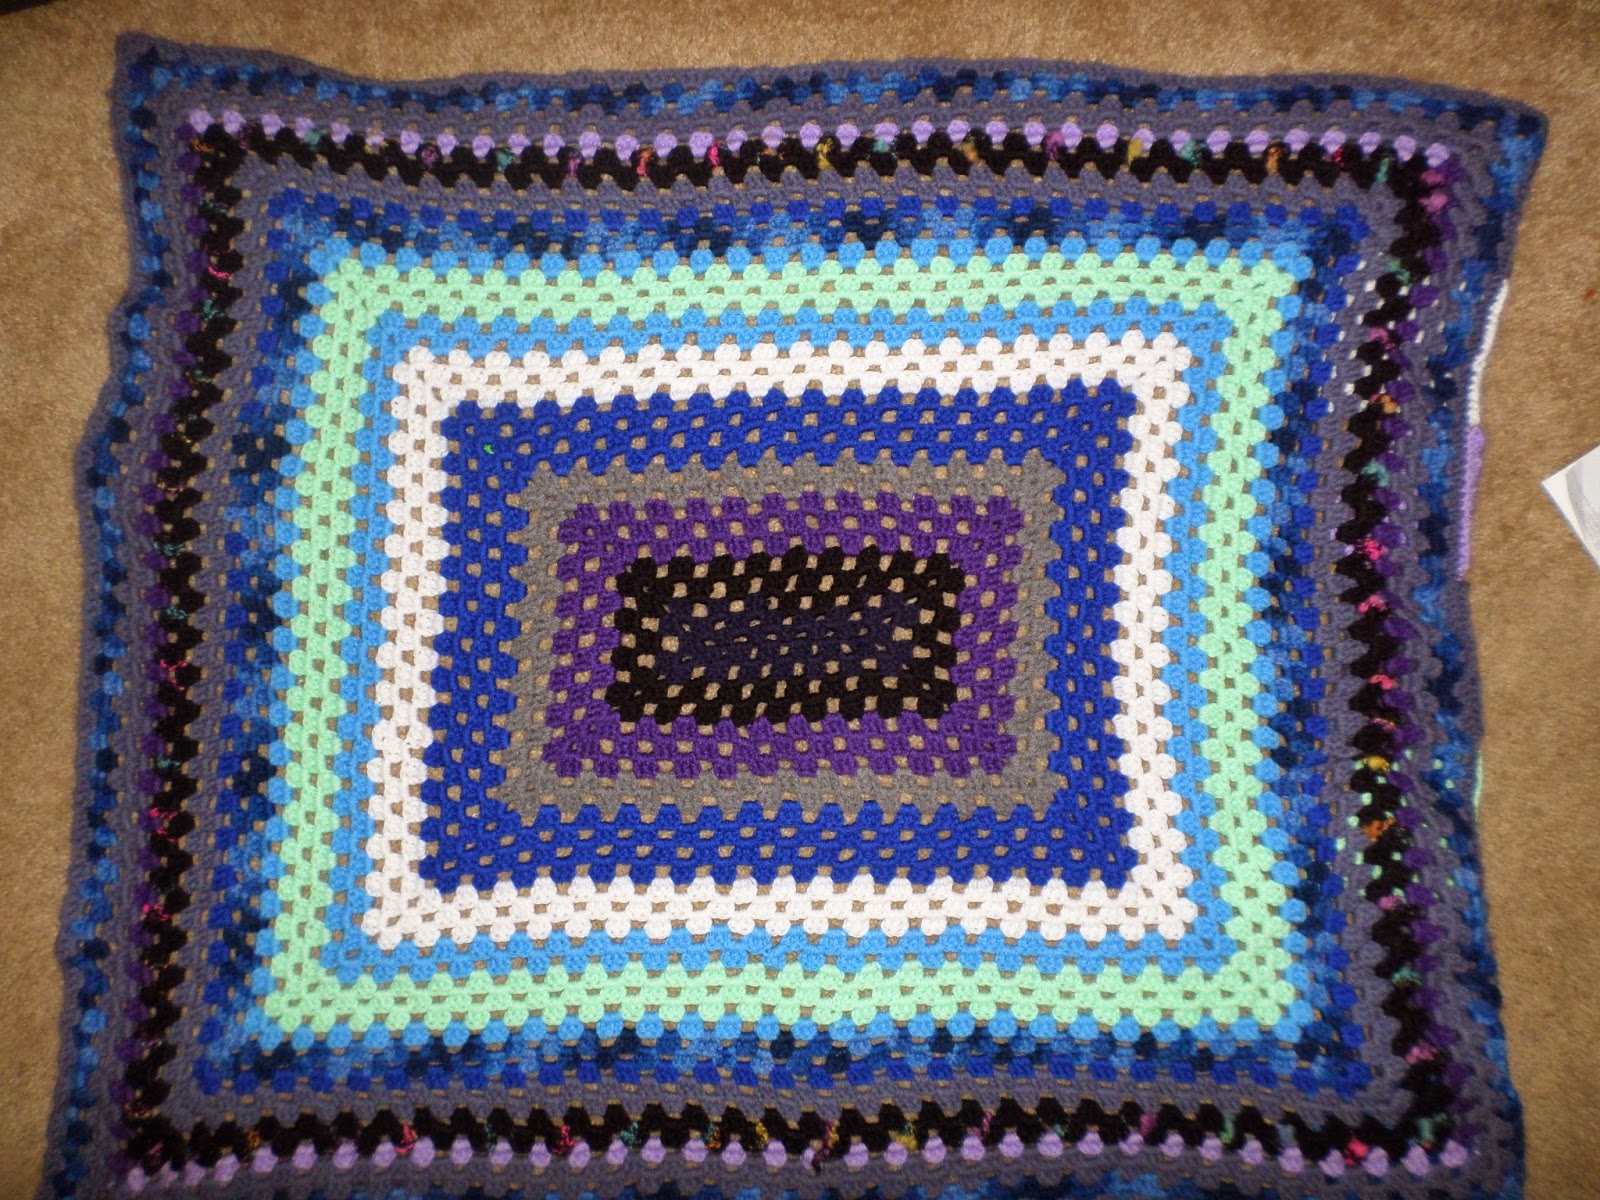
This is where one ended up, before adding squares:
 |
| I know - if you look hard enough on the right edge, I did actually add squares before taking this picture. Sorry! I forgot to take the picture before. |
My method was simple in theory: count up the bunches of three, and find the lowest common denominator. Problem? My blanket was 34 x 39. I will honestly say I spent about twenty minutes trying to figure out how to surround it with squares, until I figured out that adding another round would bring it up to a nice 35 x 40, which is much easier! So I got to work, making granny squares with five bunches on each side.
Now came time to attach them. I started off putting seven on each of the smaller sides, just connecting in each of the stitches of the bunches. Simple enough.
 |
| Simple connecting, just joining the stitches in the bunches. |
 |
| View from the top - Notice the last round on the rectangle is the steel blue? That's the color I chose to join the squares! |

No comments:
Post a Comment