Wednesday, May 28, 2014

Joining Different Sized Granny Shapes

I'm currently working on two granny rectangle blankets - one for my mom, and one for my MIL. I'm having fun doing it, and I found a great tutorial here. However, just going round and round, I've found these blankets are getting a bit too bulky to work on anywhere other than my couch, so I had a brilliant idea of surrounding them with smaller granny squares. Smart, right? Being able to churn out small squares anywhere, I could see myself finishing both these blankets within a month! (I could finish sooner - but I'm a mom, remember?)

This is where one ended up, before adding squares:
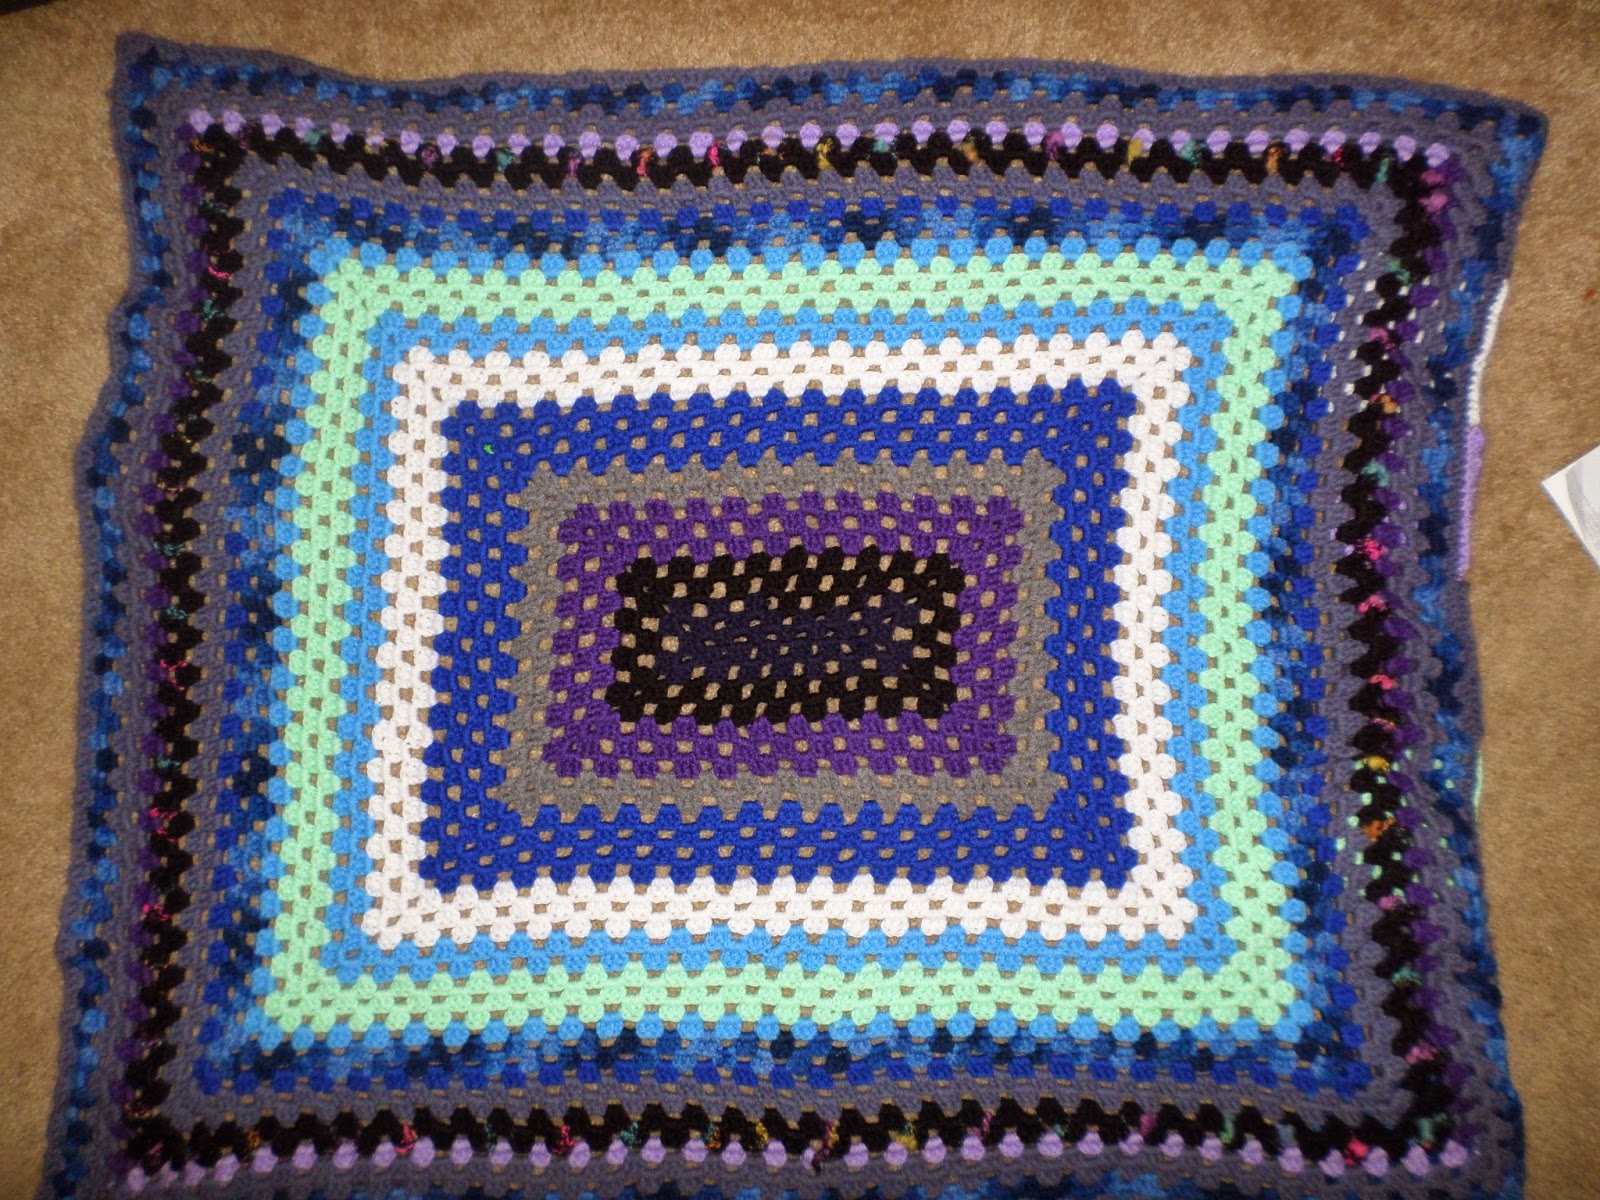
I know - if you look hard enough on the right edge, I did
actually add squares before taking this picture. Sorry!
I forgot to take the picture before.

My method was simple in theory: count up the bunches of three, and find the lowest common denominator. Problem? My blanket was 34 x 39. I will honestly say I spent about twenty minutes trying to figure out how to surround it with squares, until I figured out that adding another round would bring it up to a nice 35 x 40, which is much easier! So I got to work, making granny squares with five bunches on each side.

Now came time to attach them. I started off putting seven on each of the smaller sides, just connecting in each of the stitches of the bunches. Simple enough.

Simple connecting, just joining the stitches in the bunches.
View from the top - Notice the last round on the rectangle
is the steel blue? That's the color I chose to join the squares!

 To be continued ....


Tuesday, May 27, 2014

Repainting an End Table - Part 1

As I mentioned in my previous post, I'm working on repainting an old end table that my wonderful husband picked up at a garage sale. It's in decent shape, but the style is a little bit dated:

My plan is to spruce it up with a pale blue/grayish color.
Sherwin Williams - SW 6499 Stream

The first step is to get alllllll the stain off it.

I used a sheet of 60-grain sandpaper on the top and part of the supports. As you can see, I've still got a bit to go. Sanding by hand is hard work! I would definitely recommend using a power sander.
That's all I've got for now! I plan on getting finer sandpaper for a super smooth finish, and to use on some of the smaller parts.

Saturday, May 24, 2014

a little about the mom and kids

I'm a mom. I like to think my kids are the two most perfect things I've ever made - JZ, an almost two year old boy, and Mel, the adorably outspoken 7 month old sister. I've been blessed with a loving and supportive husband, and couldn't do anything with my creativity if it weren't for him.
My husband and I have have enjoyed nearly three wonderful years of marriage, and are really excited for the rest of our lives together!
I'm currently attending school, majoring in music (clarinet!) and minoring in business and accounting - four years down, two to go! (and then masters in accounting, then becoming a CPA, etc. - but I love it, I promise!)
I'm looking to post (hopefully) step-by-step pictures of all the arts and crafts I do from now on - there should be a little of everything for all the crafters out there!
Signing off to start prepping a table for repainting - stay tuned!